Jenga is a popular game for all ages. Here at M.I.N.G., We like to make things bigger, better, and when possible, include alcohol. As men, why play Jenga when you can play Giant Jenga.
We bring to you, the M.I.N.G. Giant Jenga Drinking game. Our version of Jenga is made from 2 x 4’s with drinking rules on the pieces. You can make one too, here’s how.
Materials needed:
- (5) 2” x 4” x 10’
- (1) ¾” x 4’ x 4’ sheet of plywood
- (4) Latches
- Mod Podge
- Wipe on Poly
- Wood Glue
- 1-1/4” brad nails
Tools Used:
- Table Saw
- Router
- Router Table
- Roundover Router Bit
- ¾ Dado Router Bit
- Belt Sander
- Orbital Sander
- Compressor
- Brad Nailer
Cut list:
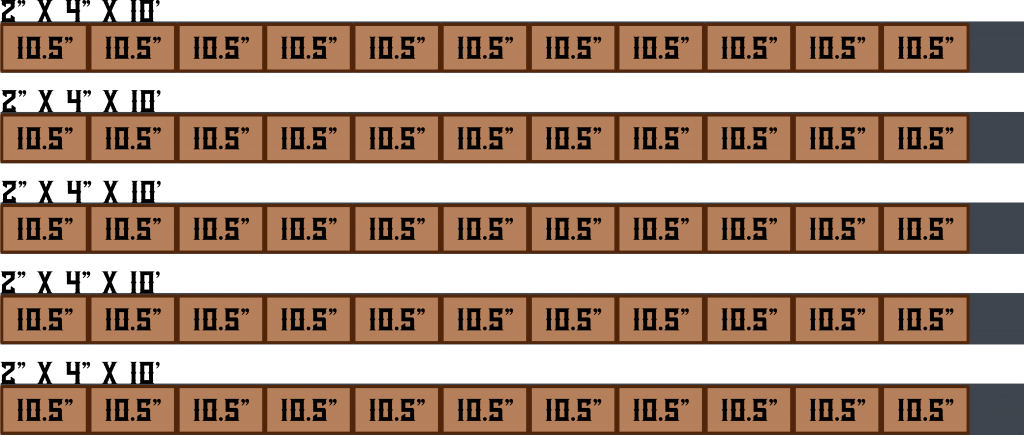
 Giant Jenga Pieces
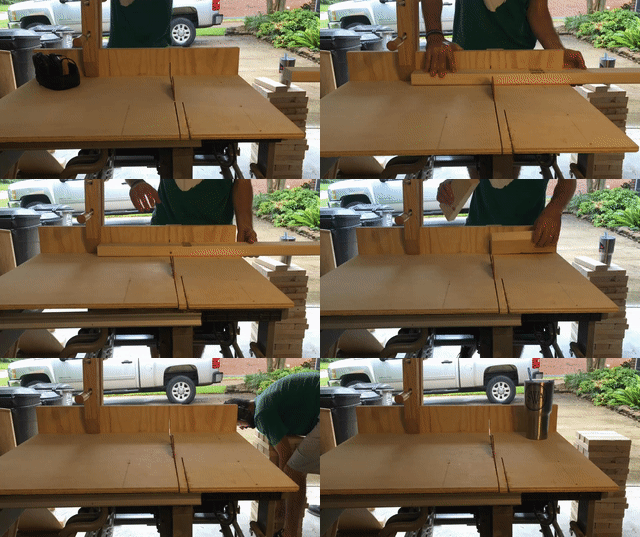
You will need 54 Jenga pieces cut at 10.5 inches long. Using a table saw, or miter saw, cut your 2 x 4 x 10’ studs down to 2” x 4” x 10.5”. Measuring and lining up 54 cuts to be the same length can be time-consuming. I used my table saw, cross cut sled and a stop block set at 10.5 inches to make my cuts. If you have a miter saw that you could set up a stop block, I would recommend that as well.
 Step 2: Round over the edges of the Jenga Pieces
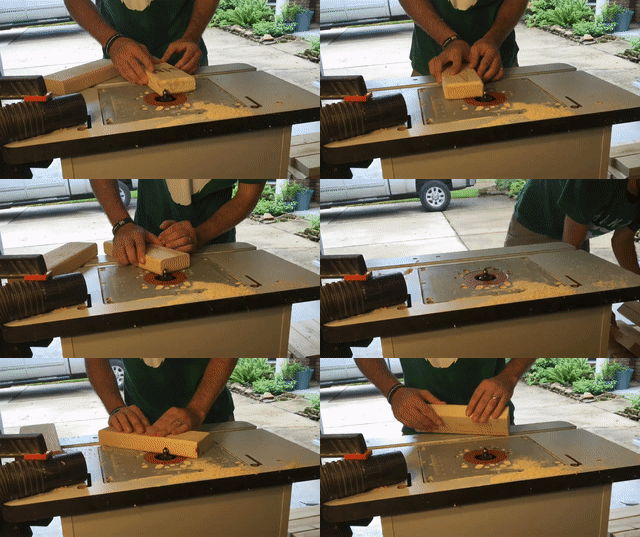
Use a router and a 3/8” round over bit to round over the edges of the Jenga pieces. I set my router table up to make it easier. This is not a necessary step, but I think the pieces look better with the rounded edges.
 Step 3: Sand each piece down to 220 Grit
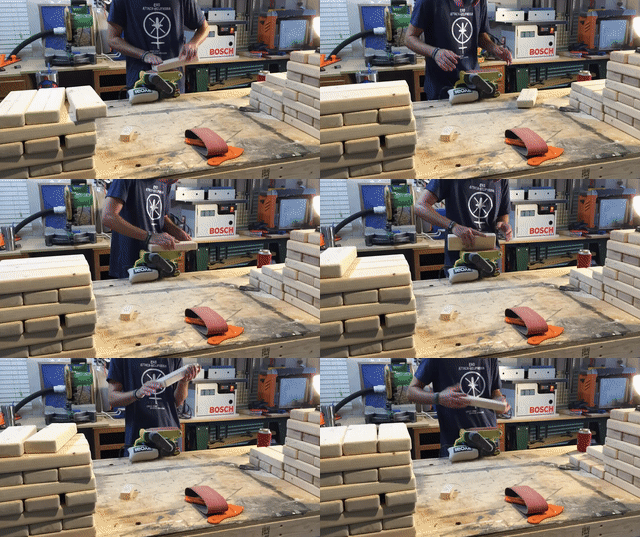
I started with 80 grit on my belt sander that I clamped to my work bench; then with 120 on the belt sander. I finished off with 220 grit with the orbital sander. Be prepared to sand for a while. Grab a beer and get to it.
 Step 4: Adding the rules to the pieces
You can go the easy route and use a permanent marker, or on the other extreme, you can take the time to burn the rules into each piece. I chose the middle road and used Mod Podge to transfer ink from paper to the wood to add the rules.
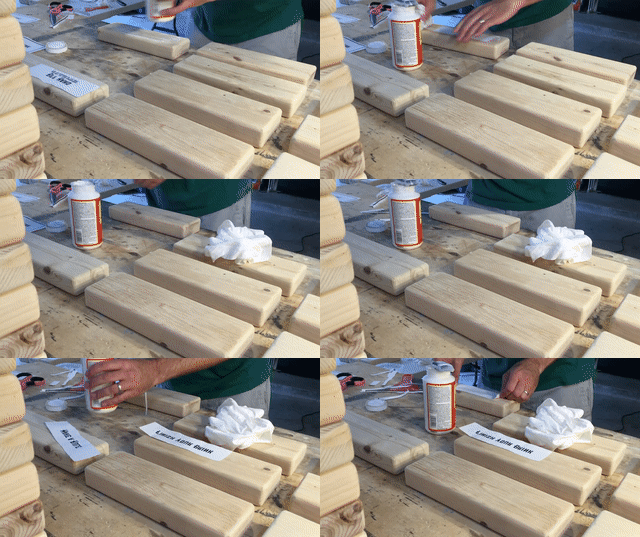 How to transfer the ink using Mod Podge:
- Print the rules, on the thin paper with a laser printer
- Make sure that the words or images are Backwards
- Apply a liberal, even amount of Mod Podge to the ink side of the paper
- Place the Lettering or image face down on the Jenga piece
- Scrape the air bubbles out to flatten the image
- Let dry for 24 hours
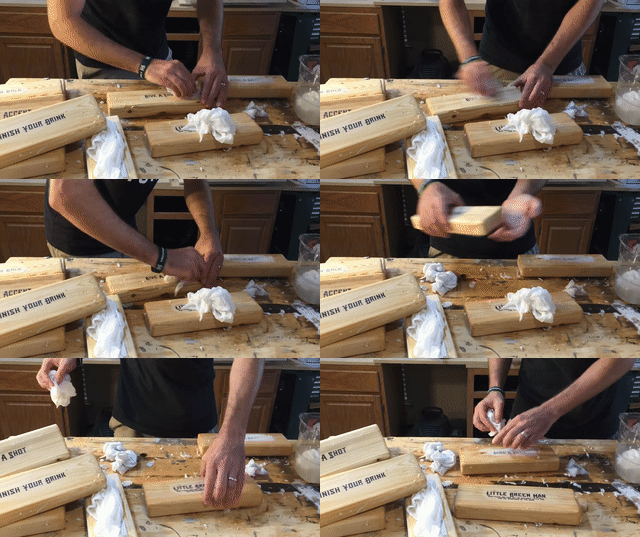
- Using a damp/wet towel, remove the paper from the Jenga piece
- Let dry
- Remove any paper that is left.
- Once all of the paper has been removed, let dry for 20-30 minutes
- Apply a polyurethane Gloss finish to seal and protect the lettering and wood
 Giant Jenga base and carrying case:
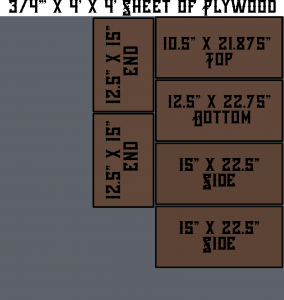
Step 1: cut bottom, top, sides, and ends
Cut your plywood pieces using the Cut list as a Guide.
 Step 2: cutting dadoes/rabbets
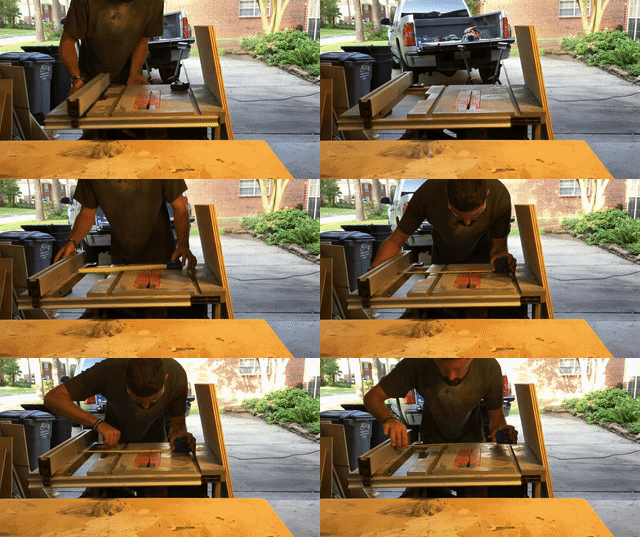
On the bottom part, you need to route a ¾ rabbet on all four sides of the bottom Piece. I cut mine a ½ deep leaving a ¼ in left for a glue surface.
For the end pieces, you want to make the same depth and width rabbet but only on the sides that are 15” long. Leave the top and bottom 12.5” sides alone.
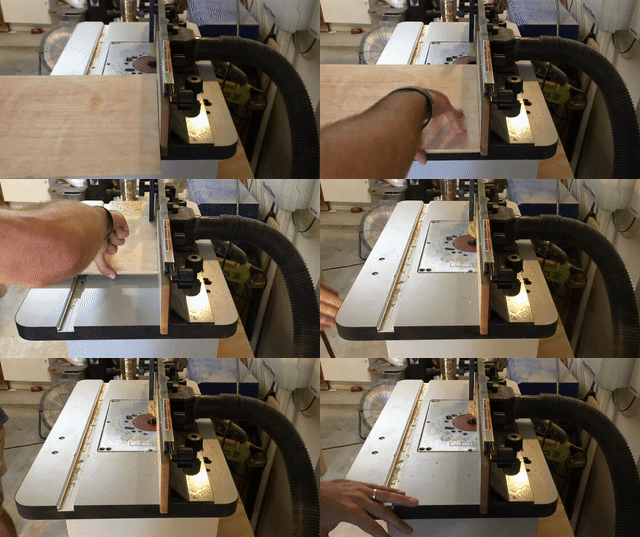 Step 3: Assembly
Always do a dry fit to make sure everything fits. Once verified: apply wood glue to the joints and clamp together. For added strength, use a brad nailer to put some 1-1/4 brads around the edges.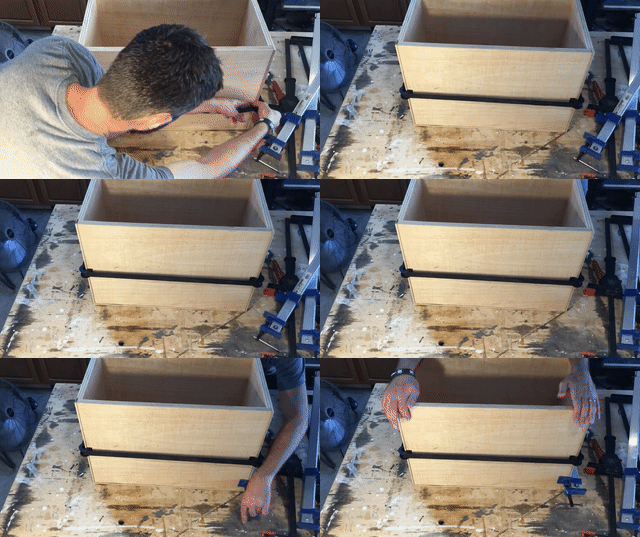 Step 4: Attach the latches to secure a top
I cut the lid to fit inside the top and sit flush with the Jenga pieces: Then add a latch on each side to keep it closed.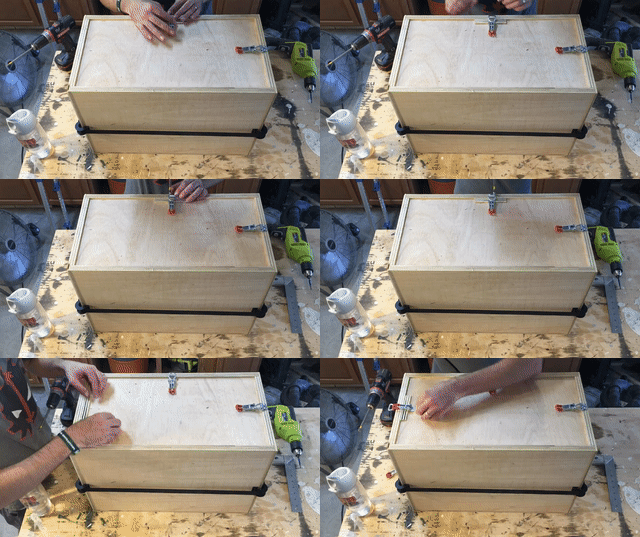
Feedback
Feel free to let us know what you think of out Giant Jenga and things you would try if you were to give this project a go.
Also, make sure you register to win it (and read the rules).


